
This article is day 4 of Share your payment integration stories and payment-related tips (credit cards, QR codes, anything goes!) — PAY Advent Calendar 2025.
Before You Start: Ordering a DevKit Comes First
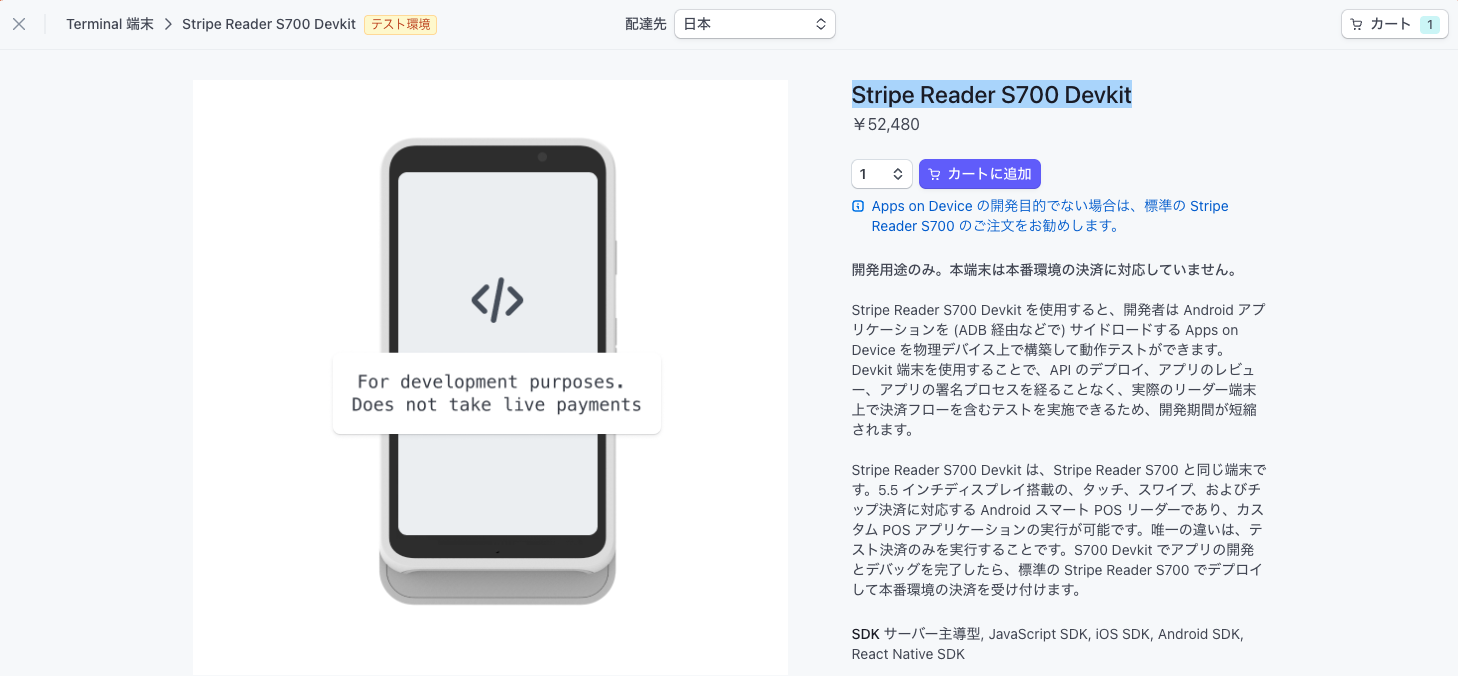
To begin developing with Stripe Terminal Apps on Devices, you need a DevKit (development device). Unlike production devices, you cannot buy a DevKit directly from the Stripe Dashboard. You need to contact your account representative or support. Until this process is complete, you cannot purchase a DevKit or start development.
How to Order a DevKit
If you have a Stripe account representative, tell them you want to use Apps on Devices and ask them to start the DevKit purchase process. If you do not have one, submit an Apps on Devices access request through the Stripe support form. Once it is enabled on your dashboard, you can purchase from Terminal > Additional readers and accessories > Stripe Reader S700 Devkit.
When you are ready to start developing, I recommend contacting your account representative or support first.
Standard Terminal vs Apps on Devices
In this article, "standard Stripe Terminal" means the common setup where the host app (POS / mobile app) implements UI and business flow and controls the payment reader through the Stripe Terminal SDK. In that case, the UI shown on the payment device is limited to Stripe's standard screens.
With Apps on Devices, the app running on the payment device handles UI, screen transitions, and business flow—the device itself acts as an app runtime. That lets you design the full UX, including before and after payment, in code.
You only need a DevKit when using Apps on Devices. With standard Terminal, one production device is enough for development and operations. With Apps on Devices, you need two devices: a DevKit and a production device.
DevKit vs Production Device
The DevKit (Stripe Reader S700 Devkit) is a device for development and verification. Its USB port is enabled, so you can use adb and debug on a real device from Android Studio. It does not support live card payments (verification only). Price: ¥52,480.
The production device (Stripe Reader S700) does not allow adb or Android Studio debugging over USB, but it supports live card payments. Price: ¥52,480.
During development you debug on the DevKit and use the production device in production, so you pay for two devices. With standard Terminal, one production device is enough.
Setting Up Your Development Environment
Once the DevKit purchase process is complete, set up your development environment.
Android Studio
You develop an Android app, so you need Android Studio. The same environment you use for Android app development (including Capacitor WebView apps) works fine. If you already have an Android setup, you can use it as is.
Device Specs and Constraints
Before you start, it is important to understand Stripe Reader S700 specs and constraints.
Device Specifications
Stripe Reader S700 hardware specs:
- CPU: Qualcomm Snapdragon 665 QCM6125
- RAM: 4GB
- Storage: 64GB
- OS: Android 10
- Screen size: 1080x1920 pixels
- Screen density: 420dpi (xxhdpi)
APK Size and Storage Limits
APK files uploaded to the Stripe API are limited to 200MB. Apps must also use no more than 8GB of storage on the device. Stripe manages OTA (Over-The-Air) updates for all apps and software components on the device, which is why these limits exist.
Differences from Standard Android
Stripe SmartPOS OS is built on the Android Open Source Project (AOSP) for security and PCI compliance. It differs from consumer Android in several ways.
Google Play Services are not available on Stripe Android devices. You can integrate Google Play Services SDKs into your app, but you need to verify they behave as expected. For example, parts of Firebase and Google Maps SDK do not work on Stripe devices. Notifications are disabled, and device users cannot access the home screen. Either your app or the Stripe Reader app stays in the foreground.
On production devices the USB port is disabled, so Android Debug Bridge (adb) and debugging are unavailable. For development, use a DevKit device.
Android Permissions
On install, Stripe SmartPOS OS automatically grants Android permissions declared in your app manifest. Device users are never prompted for runtime permission approval. App permissions are validated against an allow list; apps that request permissions outside the list are rejected.
See the official documentation for allowed permissions. Camera, Bluetooth, and location features and APIs are experimental and not fully tested, verified, or approved.
Geographic Constraints in Japan
Processing Terminal payments in Japan has several important constraints.
Account and Location Requirements
To process Terminal payments, the Stripe account that receives funds and the Location linked to the reader must be in the same country and accept only the local currency. To accept Terminal payments in Japan, either your platform account or a connected account must be in Japan.
See the official documentation for details.
Supported Card Brands and Currency
In Japan, Visa, Mastercard, American Express, JCB, and Discover are supported. All transactions must be in Japanese yen (JPY).
SetupIntent Is Not Available
SetupIntent is not available at this time. Saving payment details is only supported after you collect a payment.
Start Building
With your environment and devices ready, you can start development. Stripe officially supports Kotlin and React Native; the community maintains plugins for Flutter and Capacitor. Here I briefly cover Kotlin, which has an official sample, and Capacitor, where I maintain a plugin.
Developing with Kotlin
For a native Android app, use Kotlin.
The fastest path is the official sample application. The README includes animated GIFs from startup through payment completion, which makes it easy to get a feel for the flow.
The sample ships with a Ruby (Sinatra::Base) backend and even auto-deploy on Render, so you can try it quickly. The payment flow is simple: confirm the amount with PaymentIntent, then enter the payment flow from there.
If you know Kotlin, the sample is solid enough that development should not be painful. I recommend running the sample first and reading through the code.
Developing with Capacitor + @capacitor-community/stripe-terminal
Web developers may find this path more familiar. With Capacitor and @capacitor-community/stripe-terminal, you can build on a web stack.
The flow matches Kotlin development. After you confirm the amount with PaymentIntent, run discoverReaders with TerminalConnectTypes: Handoff and execute payment with the returned reader.
This GitHub issue explains the details clearly. If you are a web developer, reading that issue alone should give you a concrete picture of the implementation.
I plan to publish a sample application next year. Until then, use that issue as your reference while you implement.
Summary
To start developing with Stripe Terminal Apps on Devices, ordering a DevKit is the first priority. Contact your account representative or support and complete the DevKit purchase process—you cannot start without it.
Next, set up Android Studio and your dev environment. Understand device specs and constraints too: APK under 200MB, storage under 8GB, no Google Play Services, and other differences from standard Android.
For implementation, choose Kotlin with its rich official sample, or Capacitor if you prefer a web stack. If you develop in Japan, watch geographic constraints: SetupIntent is unavailable, Location setup is special, and contactless payments have their own rules.
See the official documentation for more detail.
See you next time.